
Barn doors for closets have become a trend among homeowners for two reasons; it adds a style element and saves space making it perfect fit for small as well large space. The best thing is that it is available in a diverse style, and the barn doors project can be accomplished using DIY techniques at an affordable price. If you have the basic carpentry skills and an intent to try something new, try this project.. This blog provides the step-by-step information to make a barn door for the closet along with the tips and tricks.
Things to Consider Before Starting the Real Work
Accurate Measurement
One of the critical parts of the entire process is accurate measurement because wrong measurements can ruin the entire project. Begin by measuring the height and width of the closet opening, adding 2-4 inches to the width to ensure the door covers the casing when it is closed. In case of sliding barn doors, make sure to spare enough wall space along the opening so the door can slide completely without damaging the trim, switches, or the walls.
Select a Suitable Design
Barn doors are available in multiple styles to suit your preference, be it farmhouse or modern. Whatever you choose will surely affect the material and the method to build the barn doors, hence choose the design style carefully. Here are the types of design you can consider:
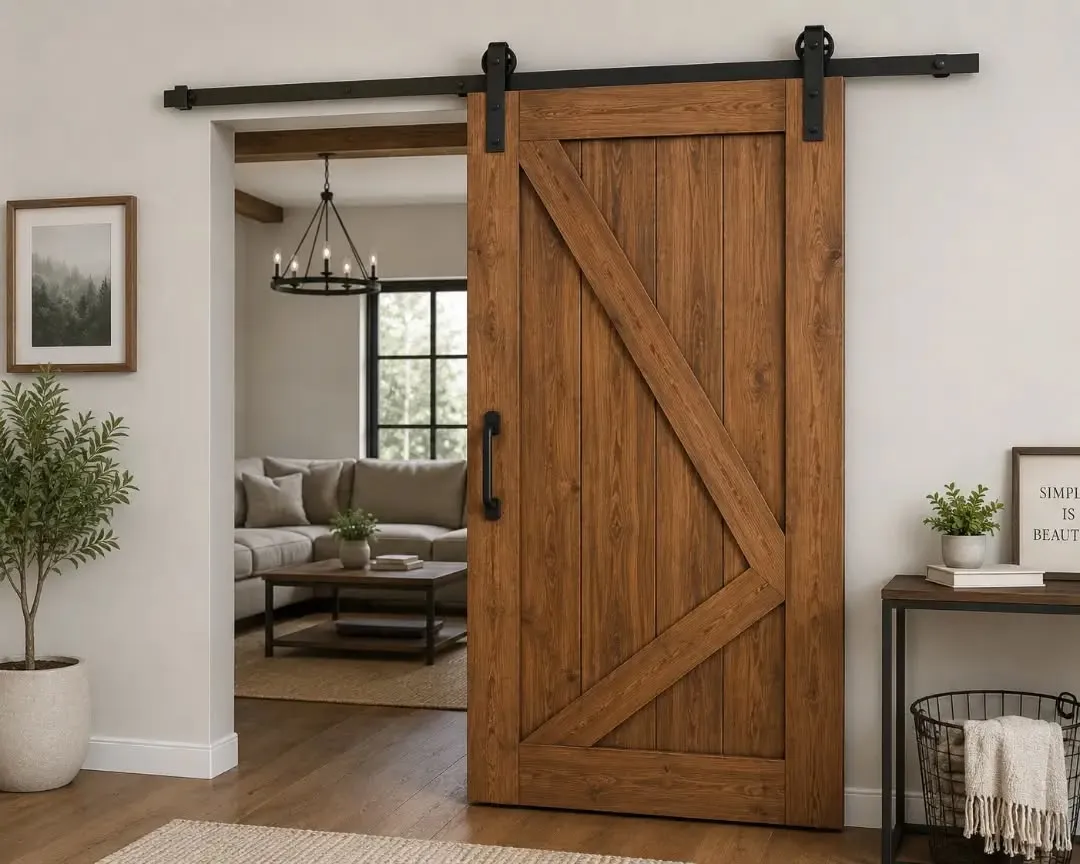
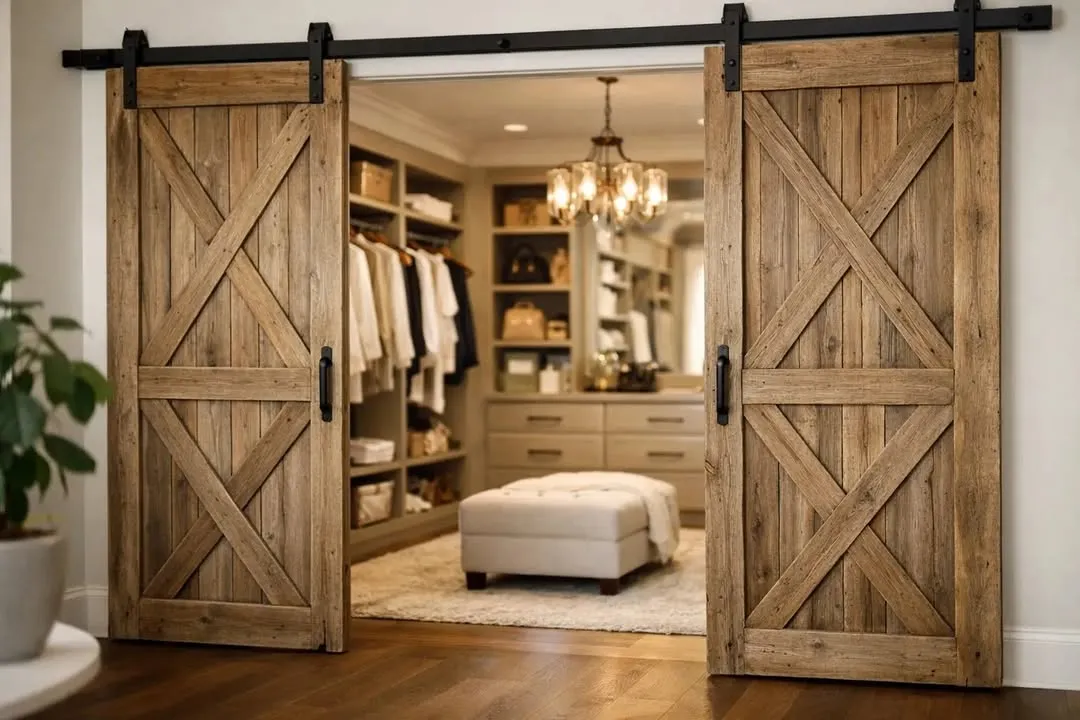
- Z-brace or X-brace- This design is made from strong boards with a diagonal brace for better strength and for visual appeal. It is often seen in farmhouses.
- Modern Panel Doors- These doors are the best fit for contemporary homes and are made from plywood with applied trim to achieve a shaker style look.
- Tongue-and-Groove Plank Doors- These doors are made from pine boards for textured and rustic look and that’s the reason, it is often stained and not painted.
- Lightweight Hollow Core- In this design, the existing interior door is used by merely adding barn-style trim and installing it on sliding hardware.
- Bifold Barn Door- It can be made simply by adding a plywood overlay to standard bifold doors. You don’t have to change it to sliding hardware.
List of Materials Needed
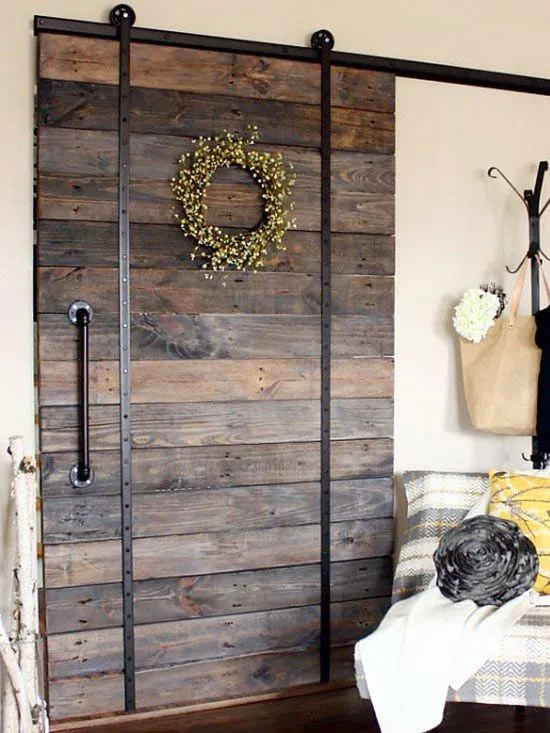
Lumber- Get boards in sizes 1×4, 1×6, or 1×8
Plywood- The size depends on the barn door style you choose. You need ¾" plywood for modern panel doors and ¼" plywood for bifold overlays.
Hardware- Sliding barn door track kit(bypass or single), rollers, door handles, and lag screws.
Adhesives and fasteners- Wood glue, screws of 1 1⁄4"-2 1⁄2", 18-gauge brad nails, wood filler, and caulk.
Other supplies- Sandpaper, primer, paint or stain.
List of Tools
- Miter saw or circular saw
- Drill
- Table saw
- Sander
- Level, tape measure, and stud finder
- Brad nailer or a hammer
- Clamps
Step-by-Step Construction Guide
1. Install a Header Board
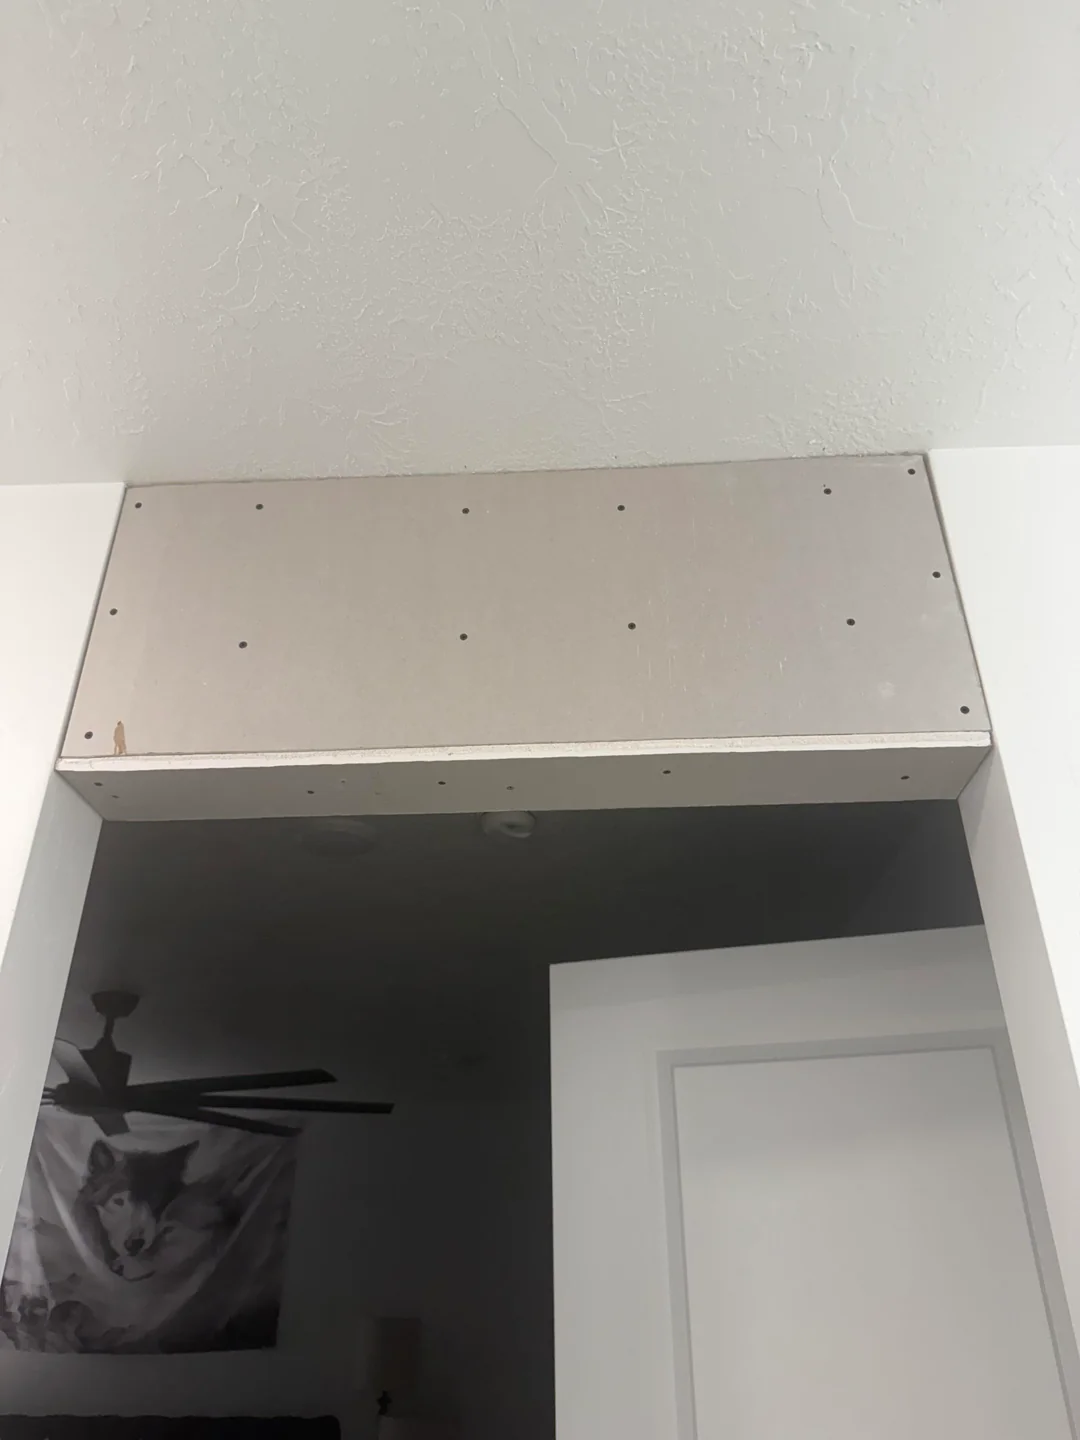
Mount a 1×10 or 1×12 header board into wall studs to support the track, only if your walls have no solid framing at the top of the opening. Make sure the board is wide enough to stretch and thick enough to adjust the lag screws. Then, prime the header followed by painting for a clean look.
2. Install the Sliding Track
Identify and mark wall studs just above the closet opening. Then, hold the track level against the wall or header for support, mark for holes, and drill and attach using lag screws, washers, and spacers. Make sure the track is properly fixed horizontally because even a little slope can cause the door to drift. In case of a bypass kit, install inner as well as outer rails as per the manufacturer's spacing. Keep the outer door rail forward to avoid door collision.
3. Make the Door Panel
You can make the door panel depending on the type of door you have in your home. Here are the distinct ways to build the door panel:
Frame-and-Plank Door:
- Cut vertical pieces of stiles and horizontal pieces of rails to make a rectangular frame.
- Doors of ½" thickness fit well with the hardware, so 2×4 stock is good to use.
- Cut a ¼" groove in the frame pieces around the inside edges to adjust plywood panels of ¾". The other way is to simply butt-join boards, but only when using solid planks.
- Then, assemble the frame using wood glue and pocket screws or brad nails.
- Just cut the plywood panels to the size to fit in the frame. Then, slide panels into grooves and attach the stile.
- For better structural support, add a middle rail or diagonal brace.
For a Modern Plywood Panel Door:
- Measure the door height and width and then cut a sheet of ¾" plywood.
- Next, create a four-panel grid by cutting 1×4 or 1×6 trim pieces and fix it with wood glue and brad nails.
- Finally, fill all the nail holes, smooth it using sandpaper, and prime all sides. It will give a perfectly smooth finish when painted.
Tongue and Groove Door:
- Arrange wooden boards (edge to edge) to get the desired width. To achieve flat edges, it’s important to tear the tongue from the first board and insert the last one.
- Join with glue and clamp it until dry. Lastly, add a frame along the perimeter for better strength.
4. The Finishing Work
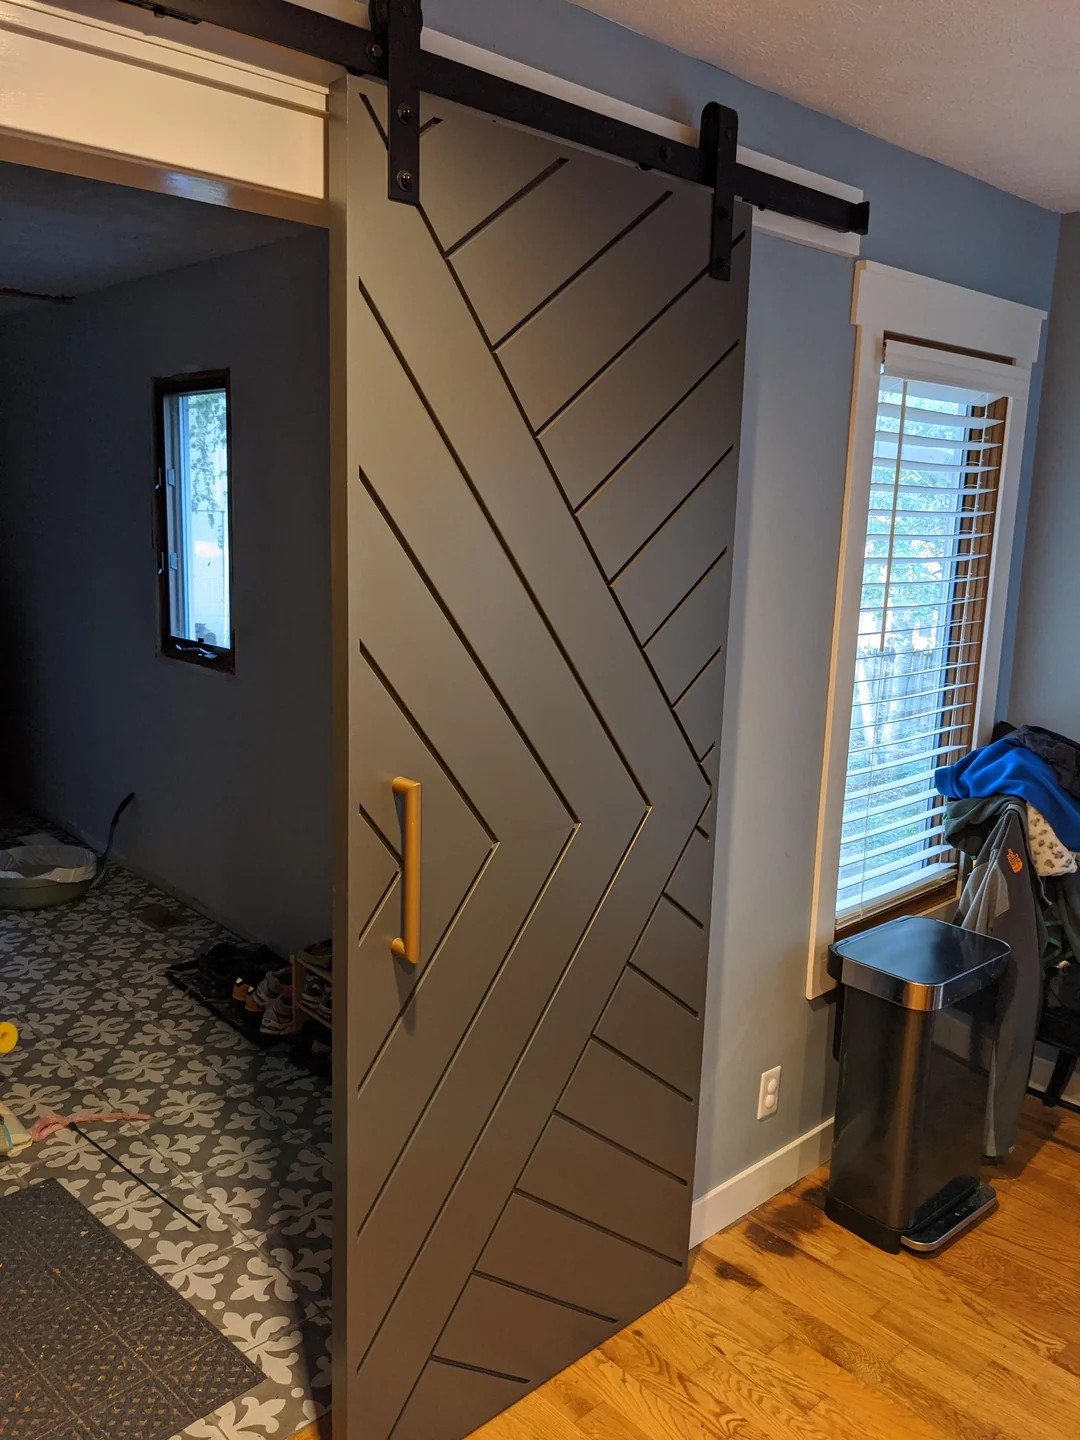
- Grab sandpaper (120-grit paper) and smooth all the surfaces. Then, apply the first coat of primer and two coats of paint. If you have a stained door, apply pre-stain conditioners and then stain colors. Finish the work by sealing with polyurethane.
- Let it cure completely and only then hang the door.
Fix Roller and Handle
Install roller brackets on the top of the door, centered on the door’s thickness for better stability. Ensure holes are pre-drilled to avoid the risk of splitting. Also, attach a pull handle on the front door. If you want, install a recessed finger pull on the back of the door.
Hang the Door
Gently lift the door on the track with the help of a roller. Adjust the height of the roller, and hang the door. Attach door stopper at both the end of the track to prevent sliding off the door.