
Most wall panels can be installed over the tiles. But “How to install bathroom wall panels over tiles?” is one of the most common questions homeowners ask. This question is mostly prevalent when they are looking to give their old, boring tiled bathroom a pretty makeover. However, the idea of removing the tiles and then doing the prep work sounds messy, expensive, and time-consuming.
The best thing is that there are many wall panel options available that can be installed directly on the existing tiles. Next, to help you refresh your bathroom walls without investing time or money, this blog explains how you can install wall panels over the tiles.
Can You Install Wall Panels Over Tiles?
Yes. Wall panels can be installed over existing tiles in the bathroom, provided the surface is even, flat, secure, and in good condition. This reduces dust, dirt, mess, and noise, saves the extra cost of tile removal, and achieves the same result. This approach is considered useful for homeowners looking for -
- An inexpensive renovation.
- A better and mess-free alternative to tile removal.
- Spend some time on DIY projects, but with ease of mind.
However, it is important to note that wall panels require at least 85% surface contact for proper, secure installation. If the surface is uneven or rough, it needs to be sanded down before installing the panels.
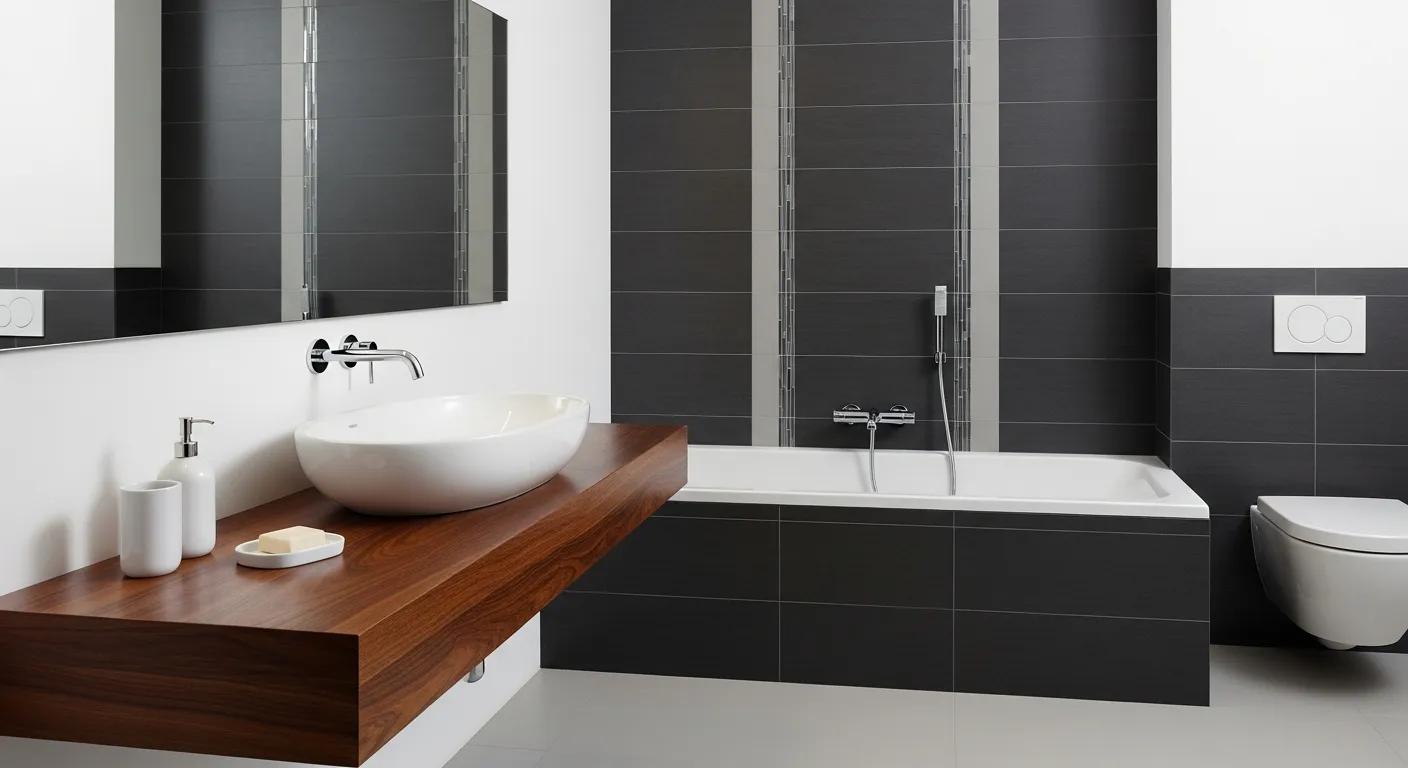
What Are the Different Types of Wall Tiles in the Bathroom?

You must be wondering why you should learn about the types of tiles. Well, the type of tiles your bathroom has influences how well panels will adhere -
- Ceramic Tiles: Ceramic tiles have a glazed surface that needs to be roughened a bit with light sanding to ensure the panels stick properly.
- Porcelain Tiles: These are dense and non-porous, and need proper prep work. Also, since these are already heavy, it is important to check whether the wall can support the weight of the panels and tiles.
- Natural Stone: Natural stones, like granite, marble, and limestone, can be porous. Hence, they may need to be sealed to prevent discoloration and seepage.
- Glass Tiles: Glass tiles are excessively smooth and need special adhesive or light etching. Check for loose glass, as it is prone to easy breakage.
Which Wall Panel is Best for Bathroom Walls?

Faux stone & faux brick wall panels are designed to be installed over existing tiles. Faux stone and brick panels work well because they are lightweight, easy to handle, and designed for adhesive-only panel installation. Also, they are easy to maintain and clean. Moreover, as they are made from high-density polyurethane, they won’t fade, crack, or split. Thus, making them a long-lasting solution.
Natural wood can add some warmth to the space, but it comes with certain limitations, such as -
- It can warp and fade over time due to moisture exposure.
- Often requires more surface prep.
- Cannot resist moisture, which may cause it to swell.
Faux stone and faux brick wall panels offer advantages over real stone & brick wall panels. For example, real bricks and stone panels are heavy and difficult to install. Also, it is expensive and requires structural reinforcement, which is not possible when DIYing.
What Tools Are Needed to Install Wall Panels?

Here are some tools required -
- Fine sandpaper
- Degreasing cleaner
- Microfiber cloth
- Panel adhesive
- Silicone sealant
- Spirit level
- Wood-cutting saw
- Measuring tape
- Utility knife (if required)
How to Install Bathroom Wall Panels On Existing Tiles?

Here’s an easy guide to your burning question -
Surface Preparation
First, consider the condition of the existing tile, though it is not necessary to have a completely smooth surface. Check and remove any loose tiles by gently tapping them. If the tile seems overly glossy or smooth, consider sanding it slightly to improve adhesion.
Next, wipe the entire surface with a clean microfiber cloth and rinse it with clean water. Once done, allow it to dry completely, and then the surface is ready for wall panel installation.
Plan the Layout
Before you actually install the panels, dry-fit them to see how well they align across the wall. Also, identify any tricky areas, such as sockets, switches, etc., to determine where to make the cuts. You need to consider where the trim would be needed, such as internal corners, end caps, or starter trims. This ensures that the space looks neat and tidy after completion.
Trim the Panels
If the panels have interlocking corners, this step can be skipped. If not, then -
- Mark the panel where it needs to be trimmed.
- Using a wood-cutting saw, trim at least ¼ inches off it.
- Use a level to find the floor's high point and mark the height.
- Extend the level line across the wall length to keep the panels in a straight line throughout the process.
Apply Adhesives

It is very important to use a high-strength adhesive generously in the vertical direction on the back of the panel. You can also apply some on the walls. The glue lines should be spaced between 5 and 10 cm, not more than that. This ensures a secure bond across the panel.
After applying the glue, place the panel on the wall and press it firmly in place. Start from one edge and then go toward the other parts. This reduces the air pocket formation. Check the placement using a spirit level, and adjust as needed.
Seal the Edges of the Panel
Installing panels in the bathroom requires high-quality, mold-resistant silicone sealant. Apply it at the bottom of the wall where the floor and wall meet, and also in the vertical joints. This creates a properly tight barrier, which prevents moisture seepage, reducing mold growth and damp patches.
| Notes | Apply the sealant with a caulking gun, then wipe off any excess for a cleaner finish. |
Repeat the Installation Process
Continue the process and trim the panels as needed. Keep applying a generous amount of the adhesive to ensure the panels fit tightly. For a professional finish, consider installing corner trims. Thus, ensuring a smooth transition between the wall and the ceiling. If you have open edges, consider adding end caps. Also, as the bathroom has high moisture levels, apply a bead of sealant along the joints and edges.

