

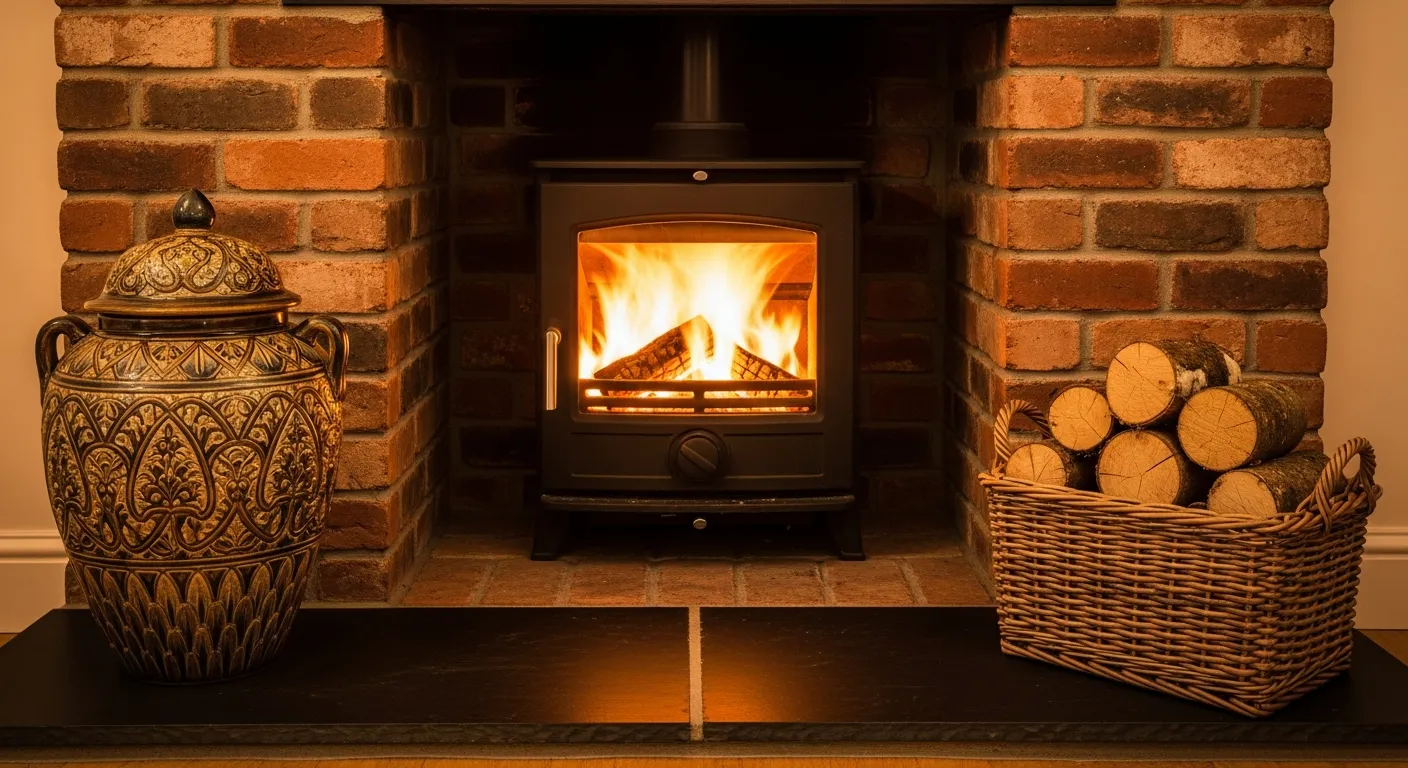
It is important to properly install a chimney to ensure safe and efficient performance of the wood stove. Whether it is assembling the chimney pipe sections or maintaining the proper height above the roof, every step requires careful attention to ensure proper ventilation and stability.
If you are planning to install or work with a more complex multi-level setup, it is important to understand the process thoroughly to ensure a smoother, safer procedure. In this blog, you will read about 6 easy steps to safely install a chimney for a wood stove.
Steps to Install a Chimney for a Wood Stove
Assemble the Chimney Pipe Sections
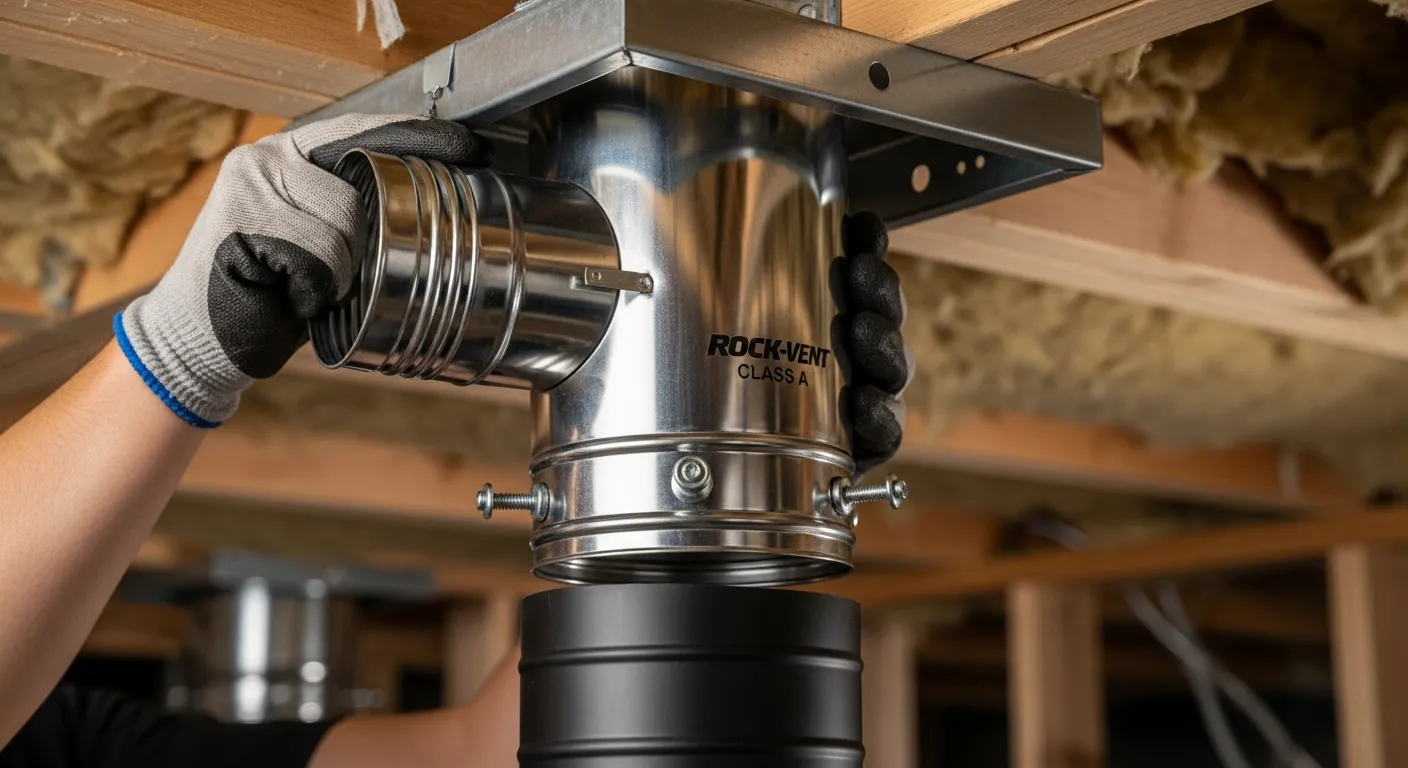
- After installing all required parts, start assembling the chimney pipe sections.
- Use three screws to securely connect the Rock-Vent Class A chimney pipe sections.
- Attach the universal male adapter to the initial chimney pipe section.
- The male end extends through the ceiling support box and allows the single- or double-wall stove pipe to connect properly to the chimney system.
- You can start the installation from the ceiling support box and continue upward through the roof flashing if the chimney installation seems long or passes through multiple levels of the home.
Stabilize the Chimney Pipe Carefully
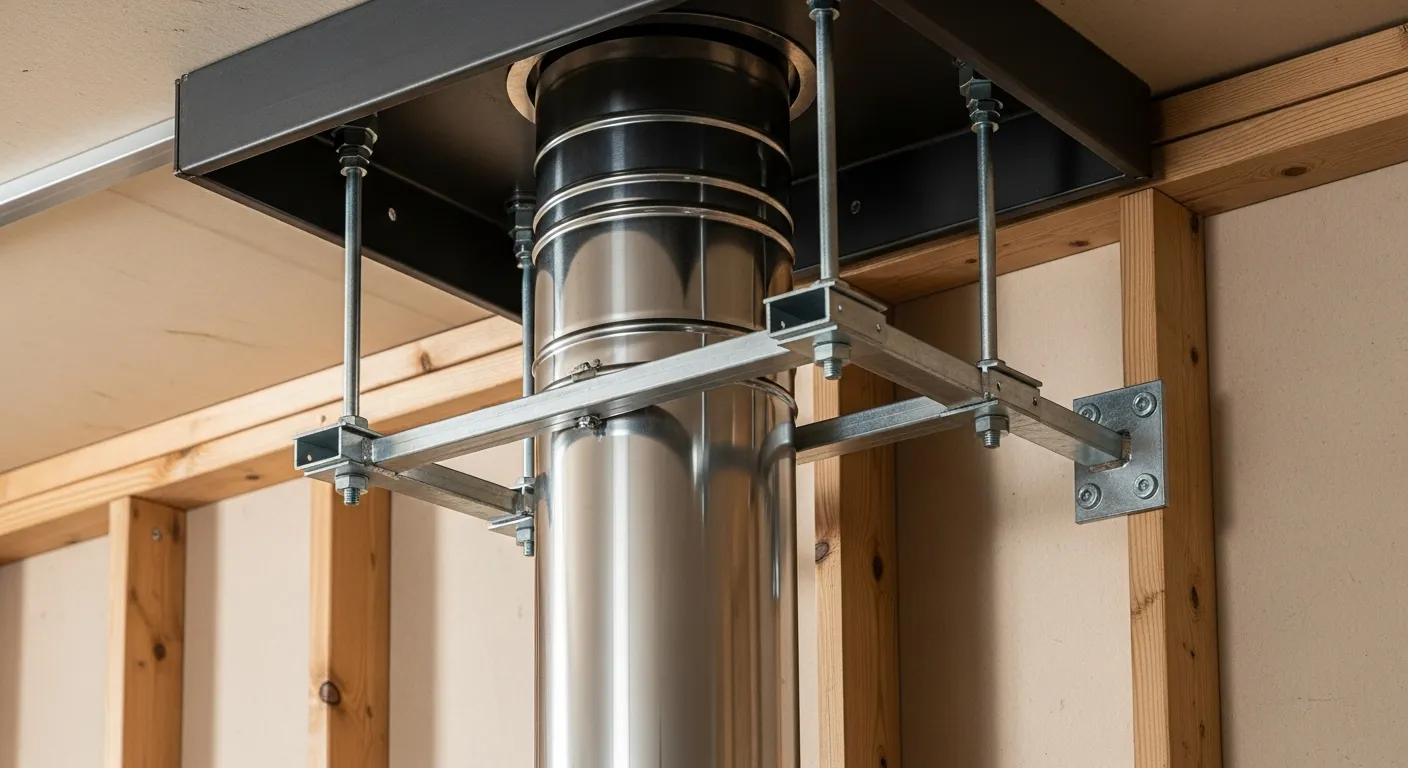
- For optimal stability and security, it is important to provide proper support for long chimney runs.
- Use standoffs to stabilize the chimney pipe above the ceiling support box.
- Make sure to install a wall standoff for every 8 feet of vertical chimney pipe above the ceiling support box.
- This allows for maintaining proper alignment and structural support for the chimney system.
Check and Maintain the Required Chimney Height
- While installing the chimney pipe, make sure that it extends at least 3 feet above the roof surface.
- The chimney must be at least 2 feet higher than anything located within 10 feet of it for safety reasons.
- The roof pitch determines the required chimney height and also the ideal distance between the roof penetration point and the roof peak.
- The pipe needs to be extended 3 feet above the roof if the chimney passes through the roof peak and there is no nearby structure within 10 feet.
- It is important to extend the pipe higher above the roofline if the pipe penetrates the roof closer to the eave.
Calculate the Chimney Height Correctly
- The correct way to calculate the chimney’s height is by multiplying the roof pitch by its lateral distance from the roof peak.
- For example, with a 4/12 roof pitch and a 10-foot lateral distance from the peak, the final calculation becomes 4 x 10 = 40.
- This means that the top 40 inches of pipe above the roof will be level with a point 10 feet away horizontally on the roof slope.
- Add another 24 inches, as the chimney must be 2 feet higher than the point.
- All the above steps will help achieve the required chimney height of 64 inches above the roof.
Install a Roof Brace Kit
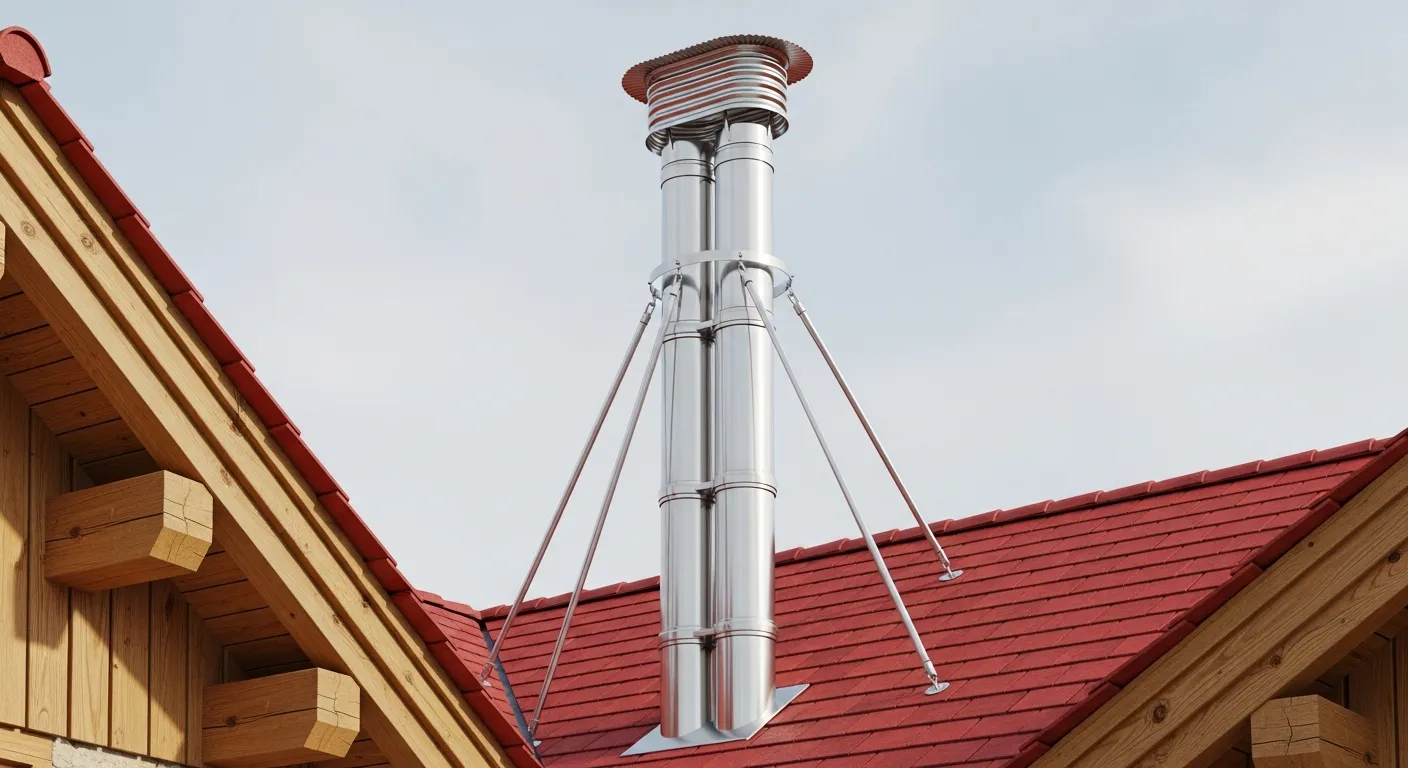
- During the process, if the chimney pipe extends 5 feet or more above the roofline, it is important to install a roof brace kit.
- The roof brace kit consists of a band with adjustable poles that anchor to the roof deck for safety reasons.
- Later, this added support helps stabilize the chimney pipe securely above the roof.
Check a Test Fire
- After installing the chimney pipe and wood stove properly, make sure to light a test fire to check the system.
- For a new wood stove, it is recommended to run 3 to 4 small fires to properly cure the fire bricks and paint.
- Start by lighting a small fire, let it burn out fully, and repeat the process a few more times to check its functionality.
- After managing these small fires, the stove can safely handle a hotter fire.
- Older stoves can usually be used with a full fire directly.
- The installation functions correctly only when the smoke doesn't escape from the front of the stove when the door is opened.
- During the test fire, it is important to be extra cautious.
Seek Professional Help!
Installing a chimney for a wood stove may seem like a DIY project to many homeowners, given the readily available toolkits. However, the home's structure and the complexity of the installation may increase the difficulty level. Therefore, many homeowners prefer to hire a professional to install the chimney safely. Hiring a certified expert ensures everything is done correctly and securely.


