

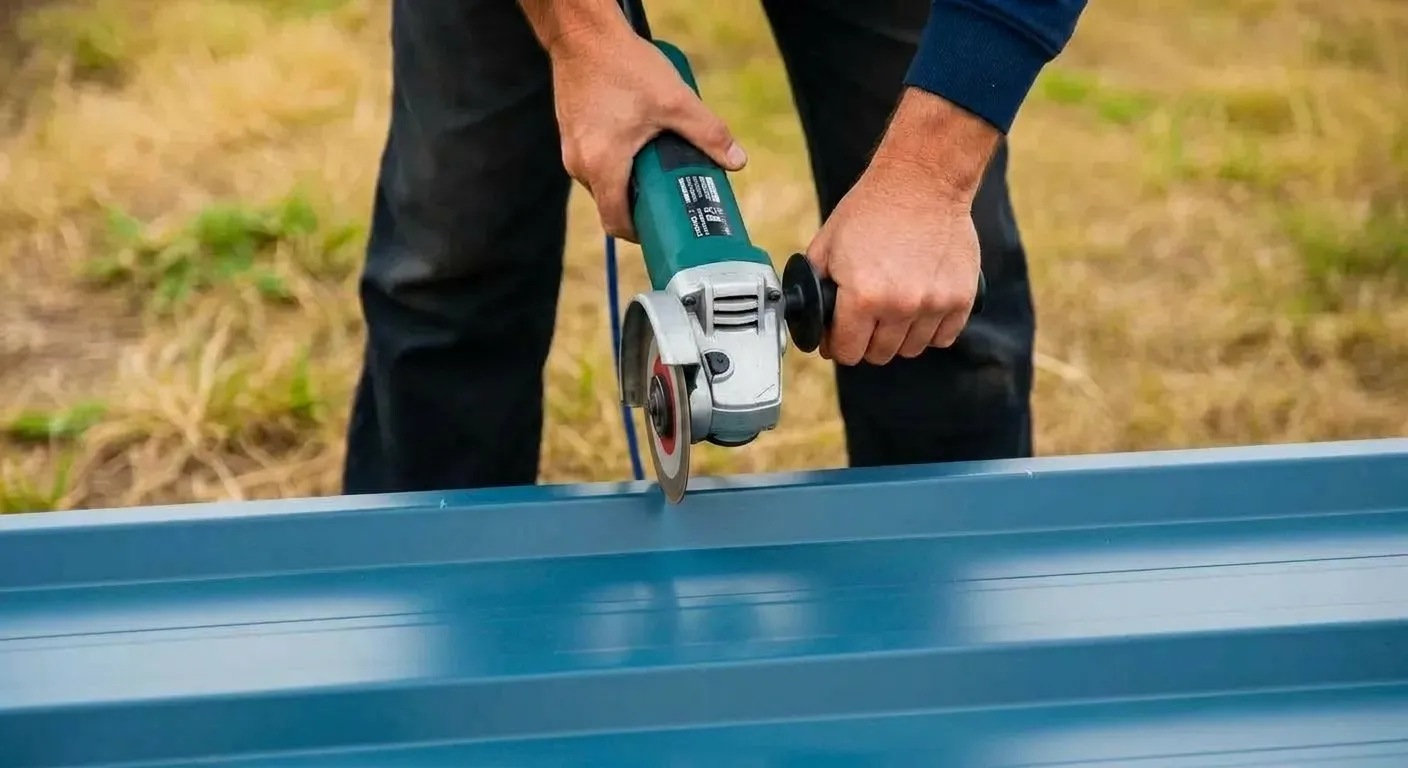
If you're thinking of installing a metal roof and don't know how to cut metal roofing, this blog will guide you through the process. Metal roofs are a very long-lasting choice for your roof, but cutting them incorrectly can leave pointed edges that can be dangerous. Understanding the proper methods for cutting metal and the tools required can help you achieve a professional result.
This guide will take you through every step to safely and effectively cut metal roofing.
Essential Safety Equipment
While cutting metal roofing, use essential safety equipment to avoid sharp edges and suspended dust.
- Industrial-grade gloves, rated for sharp materials.
- Safety goggles or a face guard.
- Wear hearing protection while working with power tools.
- Protective footwear like Steel-toed boots.
- Long sleeves to protect your arms.
How to Cut Metal Roofing Step-by-Step?
Step 1: Measure the Dimensions
Measure the dimensions of your roof with a tape measure. While planning, keep the dimensions of metal sheets in mind. Do not forget that the adjacent metal sheets must overlap to prevent water leakage.
For extra stability, overlap at least two peaks of a corrugated metal sheet.
| Notes | Record the roof measurements from all sides, including the required overhang. |
If you have an irregular roof surface, measure every peak and every low point. If there's a chimney or vent, do not forget to measure its opening. All these measurements are needed when cutting the metal roof.
Step 2: Arrange the Metal Sheets
As part of your installation plan, arrange the metal sheets on the floor. According to the user manual, overlap the adjoining sheets. Now, mark the areas that need to be cut.
Step 3: Mark the Cutting Lines
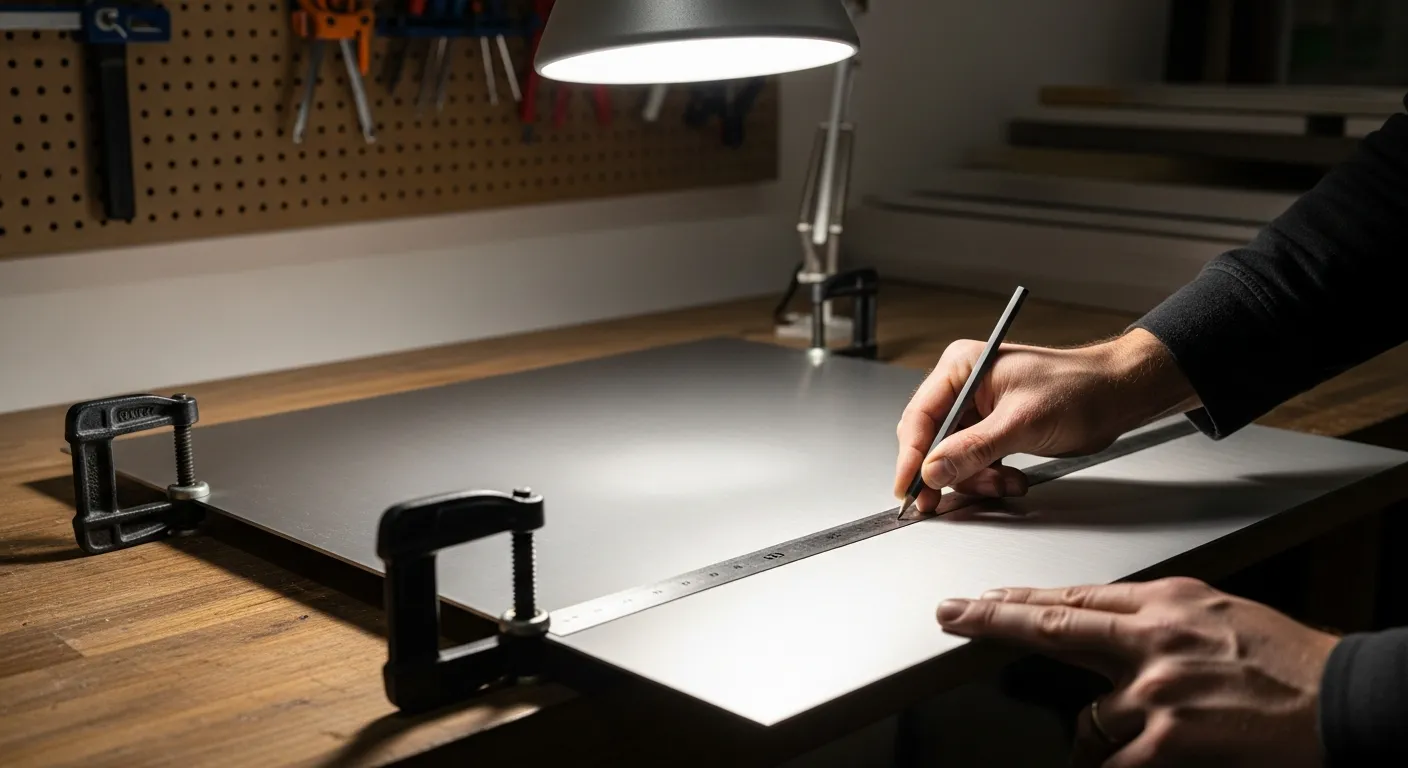
Select the first sheet to be cut, then place it on the workbench with the panel's backside facing you. This is advisable because the front part may have protruding ridges, whereas the backside has a smooth surface. Use some adjustable clamps to secure the sheets to the workbench.
Now, mark all the cutting lines using a pencil. Take out the dimensions that you noted in the beginning and confirm the marked cutting lines. Repeat the method for all other metal sheets.
Step 4: Select the Right Tools
There are various types of tools used for making cuts. The metal roofing may need to be cut straight, angled, or circular. Select the tools for the steps ahead.
Making Straight or Angled Cuts
To make straight or angled cuts, use tin snips or power shears. Here is the detailed information on both.
- Tin Snip - One of the best ways to cut metal roofing is to use tin snips. A pair of tin snips works in the same way as a pair of scissors. Based on the type of cut, they are color-coded. For example, yellow or plain snips are used for making straight cuts. An important tip is to roll the cut metal up with your other hand to prevent it from hindering the cutting process.
- Power Shears - These are upgraded versions of tin snips and are available in both electric and pneumatic models. Position the power shears above the cutting line that you marked earlier. Now turn on the power and lead the way on the marked lines.
Making Circular Cuts
The best way to cut metal roofing with circular cuts is to use tin snips and a drill nibbler. It is usually used to make circular cuts in metal roofing for ventilation ducts or chimneys.
- Tin Snip - Make a small hole using a drill machine at the center of the circle. Choose red-handled snips for cutting counter-clockwise, and choose green-handled tin snips for cutting clockwise.
- Drill Nibbler - A drill nibbler can also be used to make circular cuts in ribbed metal roof panels. If your roof panel is thick and ribbed, cutting it with tin snips becomes difficult. In that case, a drill nibbler is used, which also makes clean, accurate cuts.
Simply turn on the drill nibbler and position the blade on the marked cutting line. The drill nibbler will make smooth circular holes along this line. Turn off the nibbler and keep it aside. To remove the circle, apply some pressure with your hands.
Step 5: Final Details
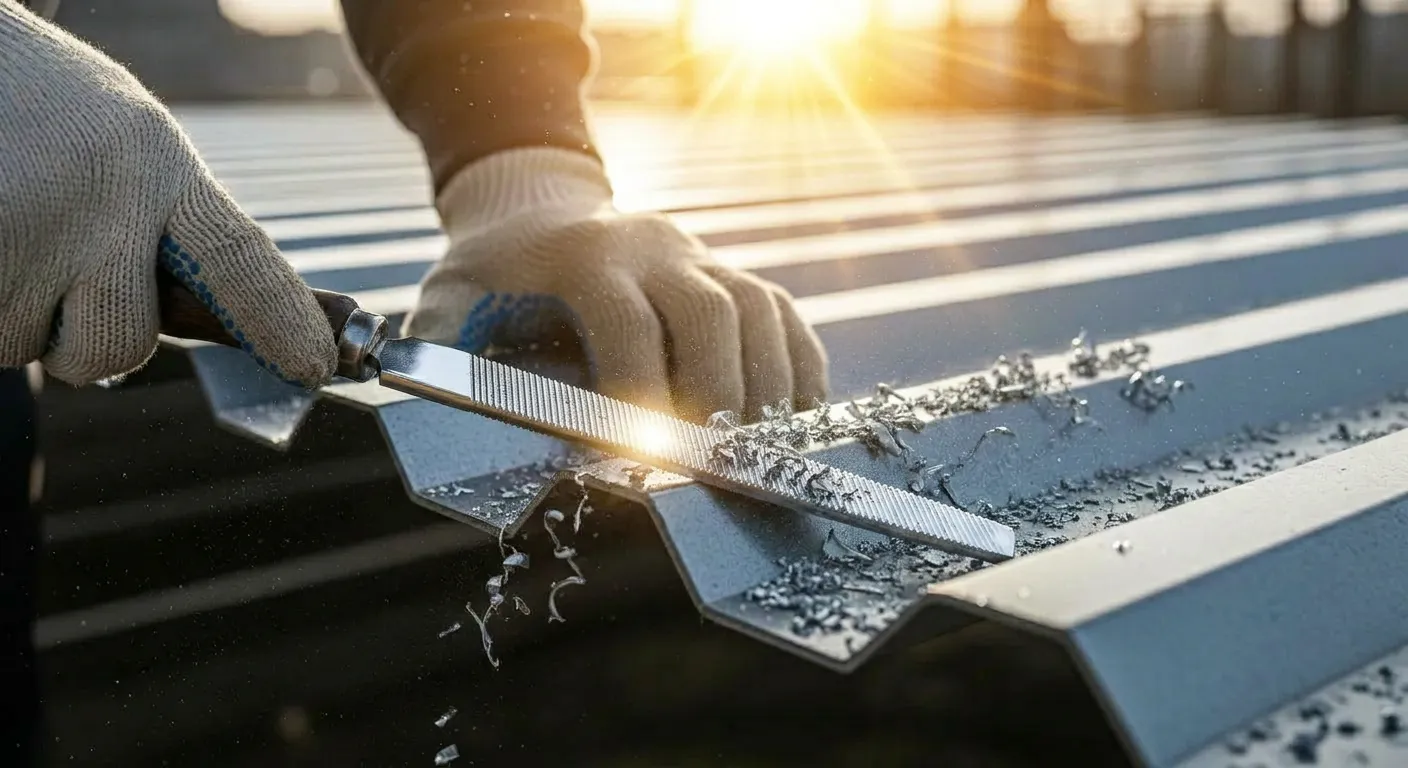
Look for any sharp edges after cutting the metal roofing. Using a metal file, polish these uneven surfaces to prevent any injuries during installation. Based on your state policies, dispose of the metal shavings.
Tips to Avoid Common Mistakes
To avoid a few common mistakes while cutting metal roofing, here are the common mistakes to avoid. These mistakes are often committed by beginners and, at times, by experienced installers.
Incorrect Tool Choice
It's very important to match your tools with the thickness of the material. Using tin snips on thick material results in rough cuts and hand fatigue.
Cutting From the Incorrect Side
To reduce the visible imperfections, consider cutting from the polished side.
Uneven Work Surface
If you cut the metal sheets on an uneven surface, it will cause uneven cutting, binding, and hazards. Therefore, follow the proper guidelines to get exceptional outcomes.
Conclusion
Cutting a metal roof isn't a very complex task. You just need to use appropriate tools and follow basic safety guidelines to ensure a smooth, professional-like result.

